# Wifibrick Info
Wifibrick (HKBM8012O)
### Introduction
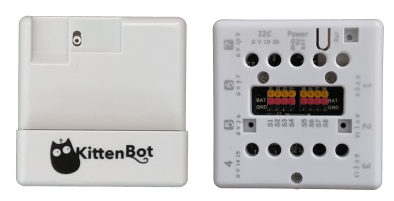
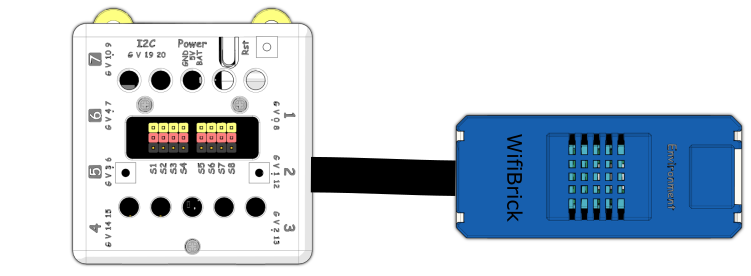
Wifibrick is an expansion module for Kittenbot’s Powerbrick.
As the name suggests, this module provides a method for Micro:bit to connect to the internet, allowing it to connect to various IoT platforms such as ThingSpeak, MakerCloud or OneNet.
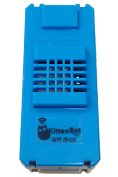
Appearance-wise, it is largely identical to the Temperature and Humidity Module, with the exception of a logo printed on the Wifibrick.

### Specifications
* Voltage: 3.3-5V
* Current: \~65mA
* Dimensions: 56 (L) x 25 (W) x 20 (H)
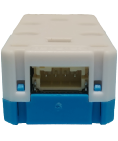
* Connector: 4Pin PH2.0
* Supports STA/AP/STA+AP
* Supports Smart Config
### Special Features
* Micro:bit compatible Wifi modules are rare in the market, therefore Kittenbot has developed the firmware and MakeCode extension.
* With a built-in indicator LED, connection status can be read.
* The PH2.0 Cable prevents incorrect connection.

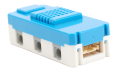
* Lego Pin connectors are installed into the sides and the back of the module, making it very easy to integrate into different models.
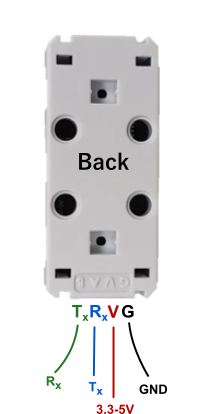
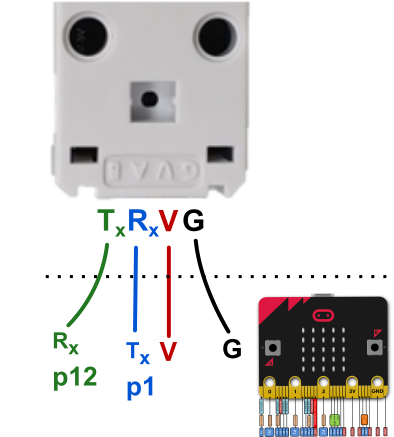
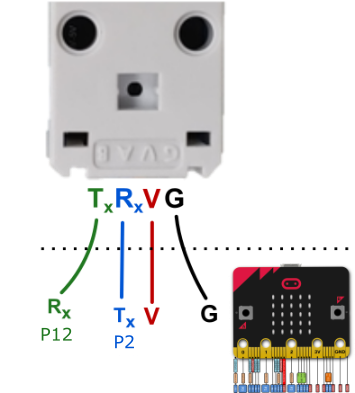
### Pin out Explaination
On the back of the WifiBrick, the pin out is labelled as G, V, A, B.
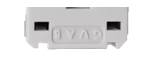
The functions of the 4 pins are as follows:
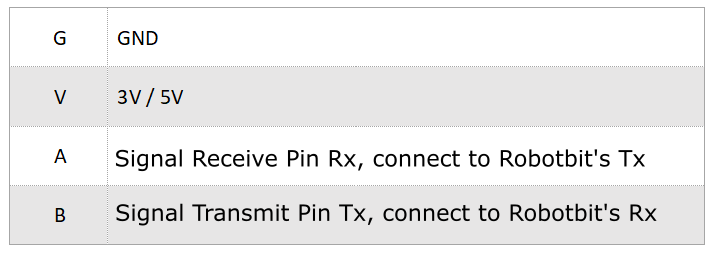
Tx = Transmit(*Tx*) Data
Rx = Receive(*Rx*) Data
### Connecting the module
There are numerous ways to connect the Wifibrick to a Micro:bit, it is recommended to use Kittenbot’s expansion boards.
Details are as follows:
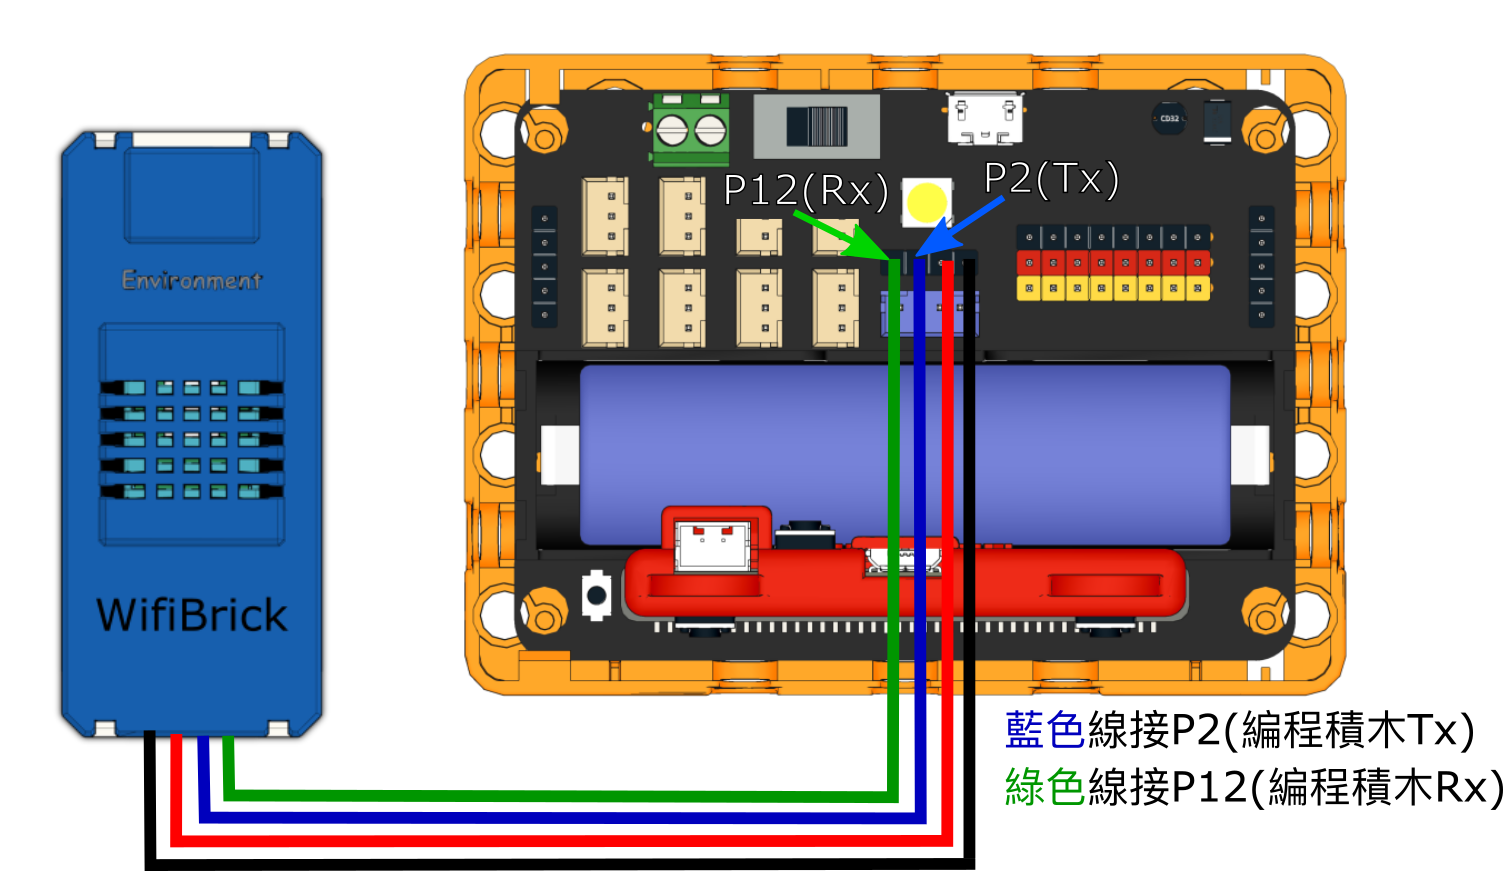
#### Armourbit
Armourbit is an expansion box designed for Micro:bit. Wifibrick can be connected to Armourbit using a 4Pin cable.
{% content-ref url="../../extension-boards/armourbit-expansion-box" %}
[armourbit-expansion-box](https://sharinghub-eng.kittenbot.hk/extension-boards/armourbit-expansion-box)
{% endcontent-ref %}
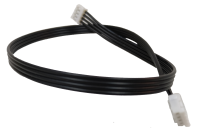
The 2 ends of the cable are both PH2.0.
Connect Wifibrick to the Port 1(Requires turning off the buzzer) to Port 4 of the Armourbit using the cable.
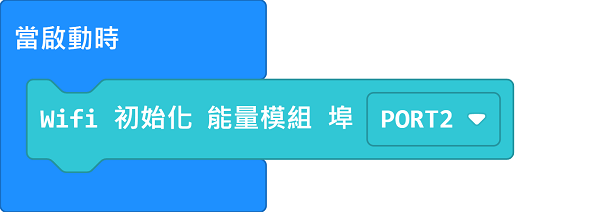
In this figure, Port 2 is used, this corresponds to P1 and P12 of the Micro:bit.
Wiring Details:
In MakeCode programming, choose Armourbit Port.
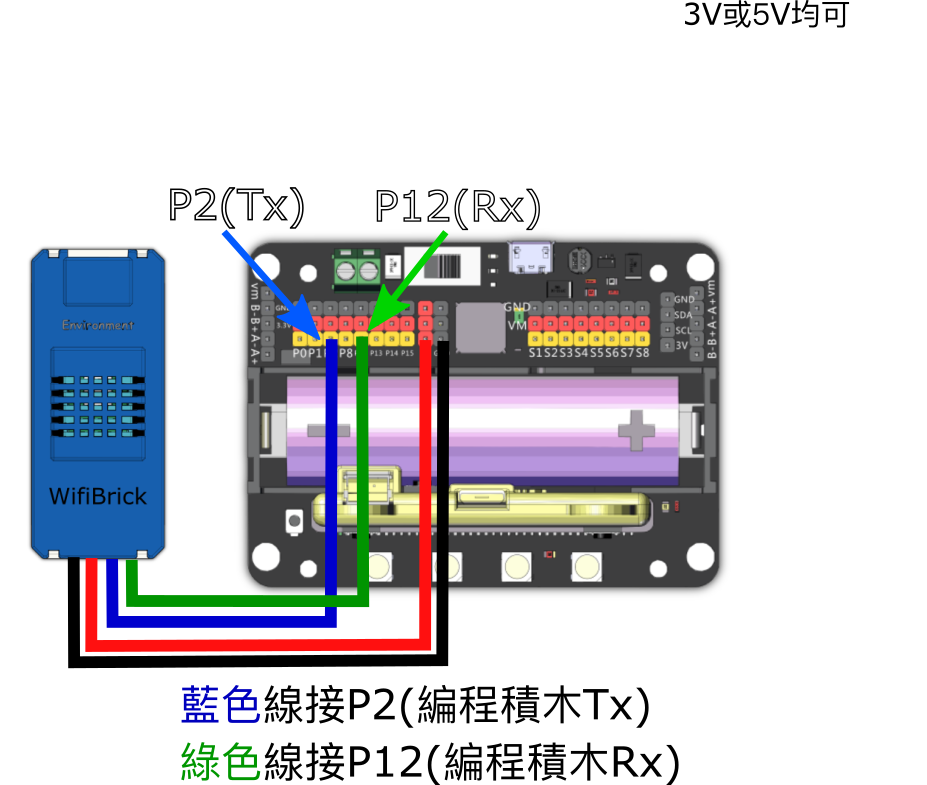
#### Robotbit Edu
{% content-ref url="../../extension-boards/robotbit-edu" %}
[robotbit-edu](https://sharinghub-eng.kittenbot.hk/extension-boards/robotbit-edu)
{% endcontent-ref %}
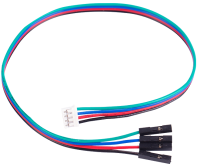
Using a PH2.0 to Dupont Cable, connect the Dupont pins to the Serial Port on Robotbit Edu.
In this figure, Pin 2 and Pin 12 is used.
Select P2 as Tx and P12 as Rx in MakeCode programming.

Wiring Details:
#### Robotbit 2.2
Robotbit is a popular Micro:bit expansion board by Kittenbot, it supports a wide variety of modules including Wifibrick.
{% content-ref url="../../extension-boards/robotbit-2.2" %}
[robotbit-2.2](https://sharinghub-eng.kittenbot.hk/extension-boards/robotbit-2.2)
{% endcontent-ref %}
Using a PH2.0 to Dupont Cable, connect the Dupont pins to G, V and 2 signal pins on the Robotbit.

In this figure, Pin 2 and Pin 12 is used.
Select P2 as Tx and P12 as Rx in MakeCode programming.

Wiring Details:

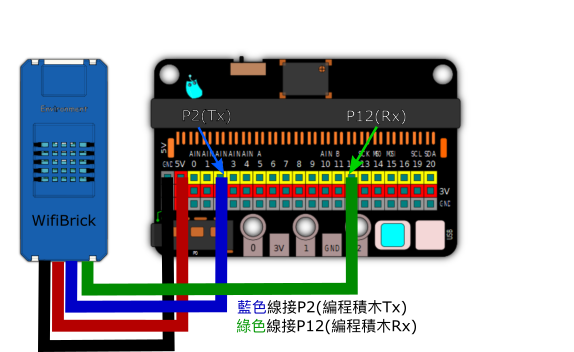
#### IoBit
IoBit is a basic Micro:bit extension board by Kittenbot, Wifibrick is supported on this board.
The connection method is identical to Robotbit. Using a PH2.0 to Dupont Cable, connect the Dupont pins to G, V and 2 signal pins on the IoBit.
In this figure, Pin 2 and Pin 12 is used.
### Programming Tutorials
WifiBrick Programming Tutorials for different platforms are available in the following segment.
[MakeCode Programming](https://kittenbothk-eng.readthedocs.io/en/latest/Wifibrick/MakeCode/index.rst)
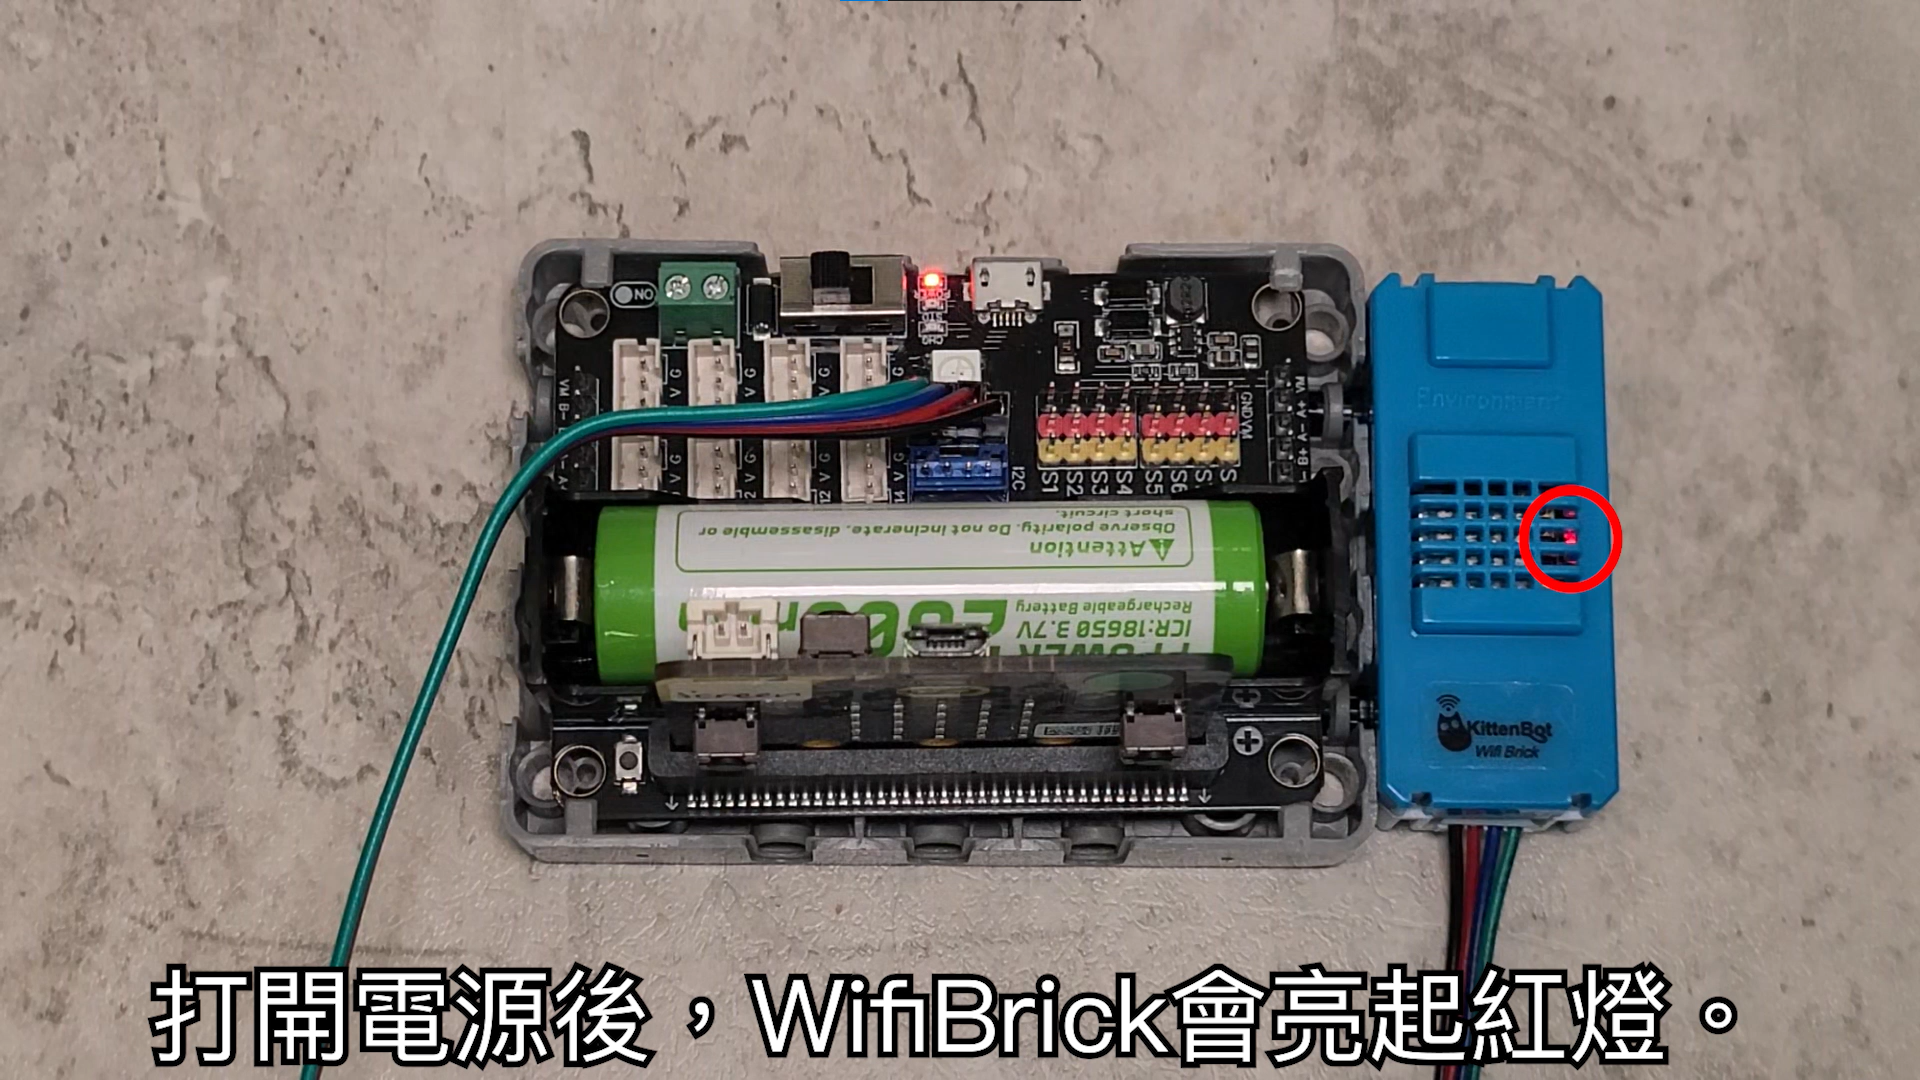
### WifiBrick Indicator
1. The Red light turns on when Wifibrick is powered on.
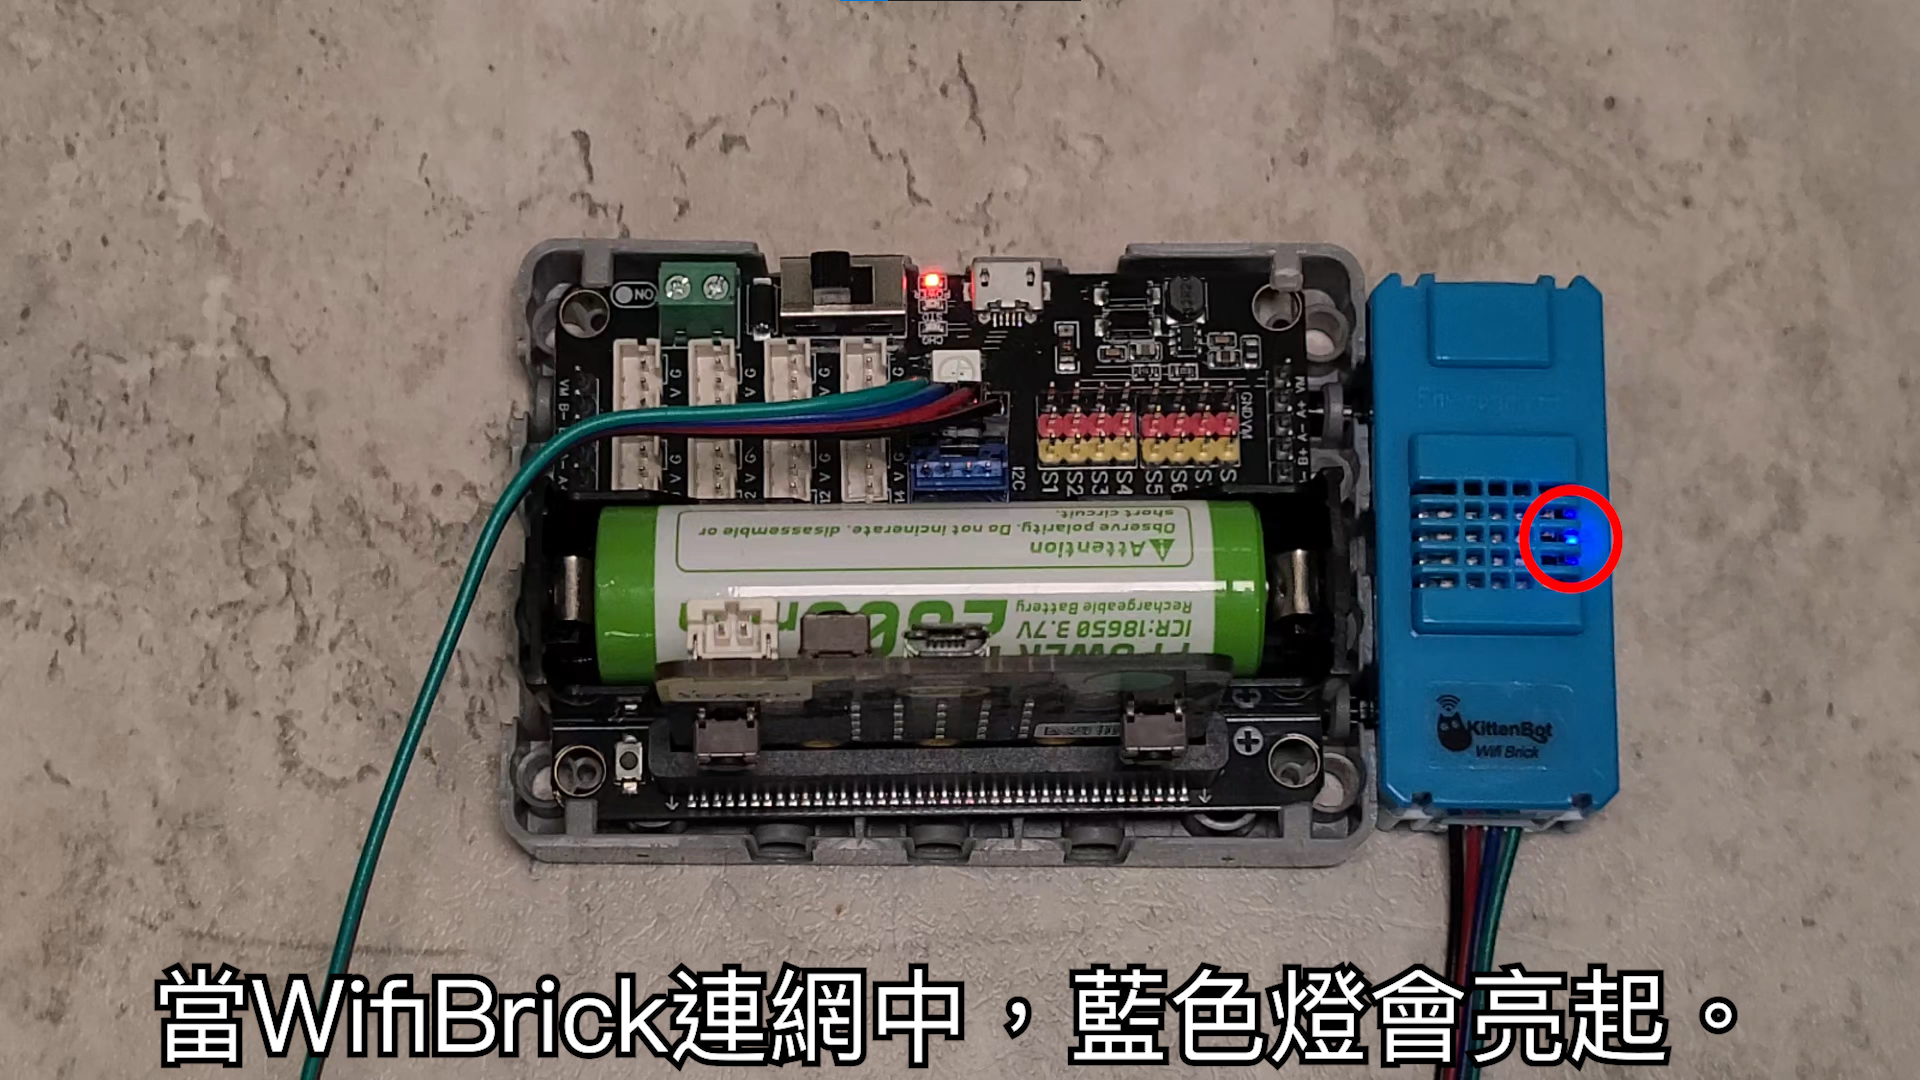
1. A Blue light will flash when connecting to the WiFi.
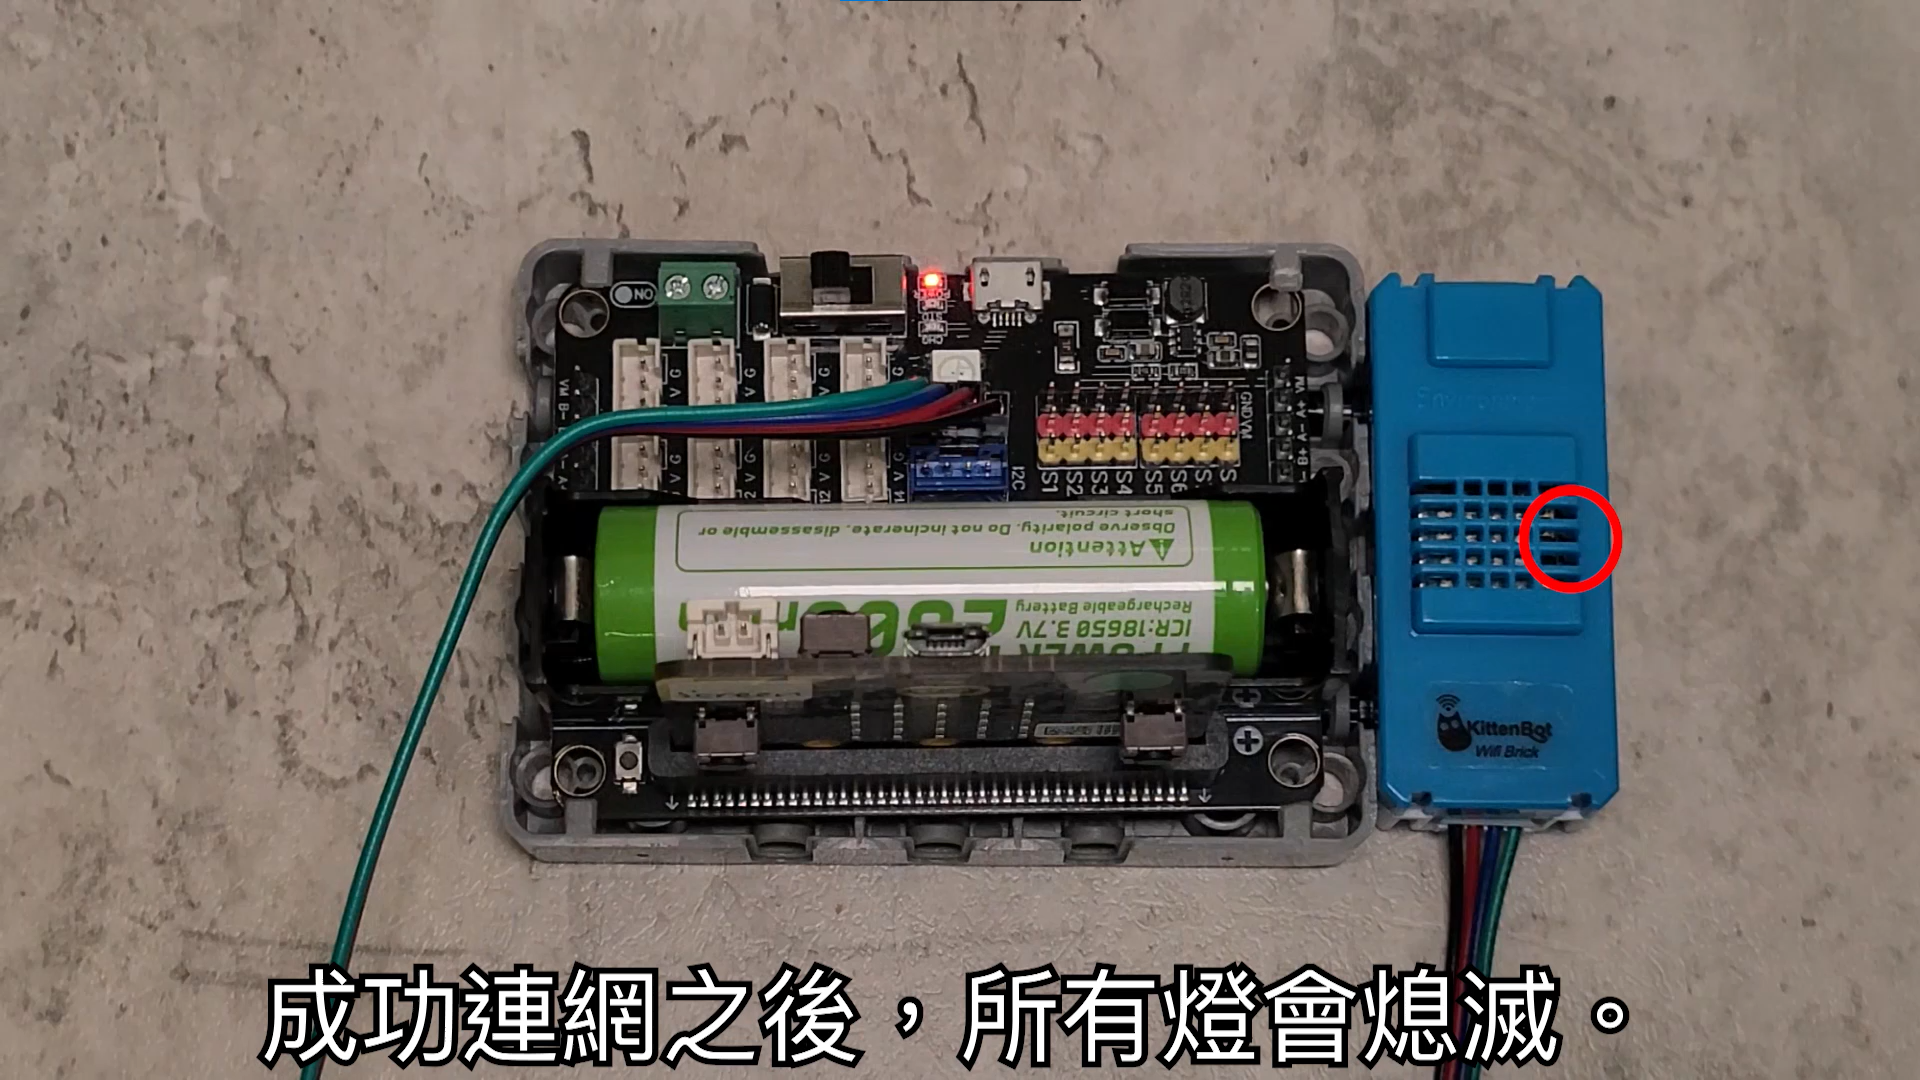
1. All lights will turn off when the above is done.
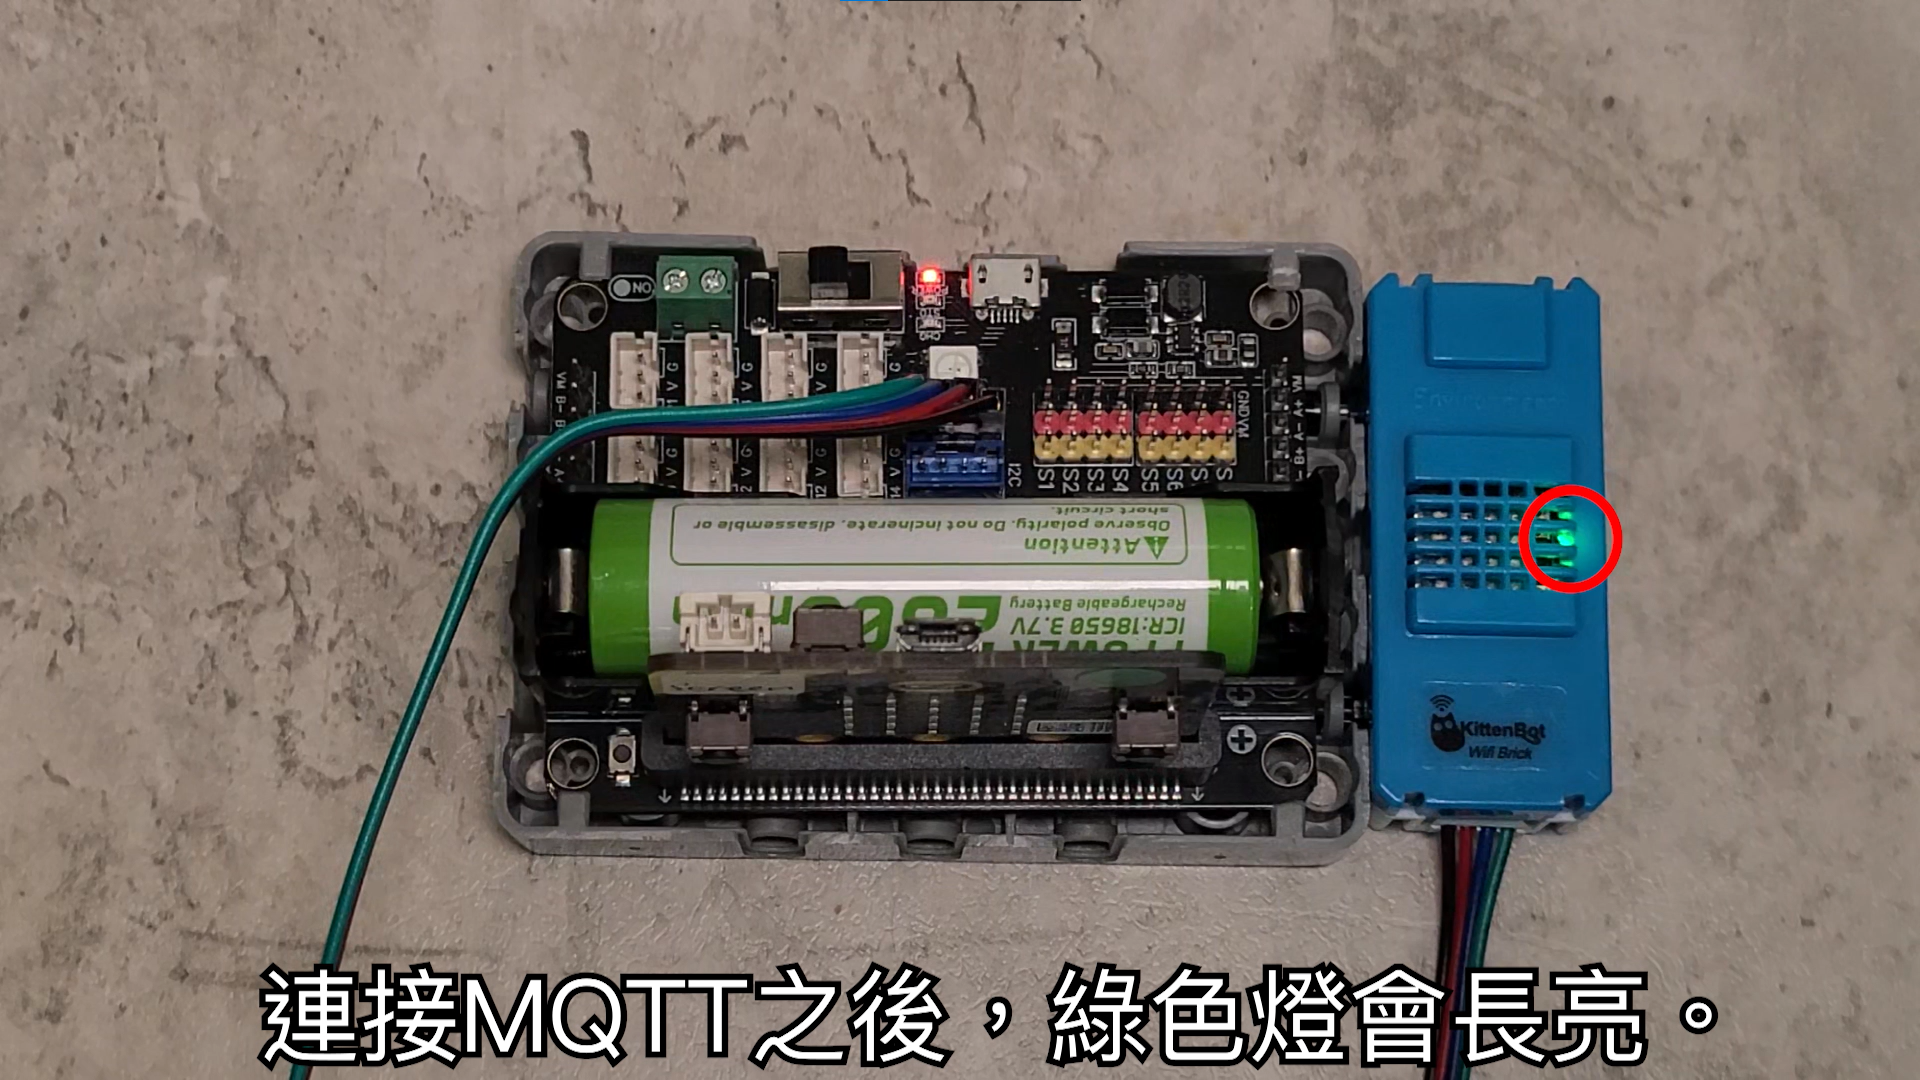
1. A green light turns on when it is connected to the MQTT platform.