> For the complete documentation index, see [llms.txt](https://sharinghub-eng.kittenbot.hk/llms.txt). Markdown versions of documentation pages are available by appending `.md` to page URLs; this page is available as [Markdown](https://sharinghub-eng.kittenbot.hk/airelated/koi/koimc/rectangle-tracing.md).
# Rectangle Tracing
### Rectangle Tracing
#### **Loading Extensions**
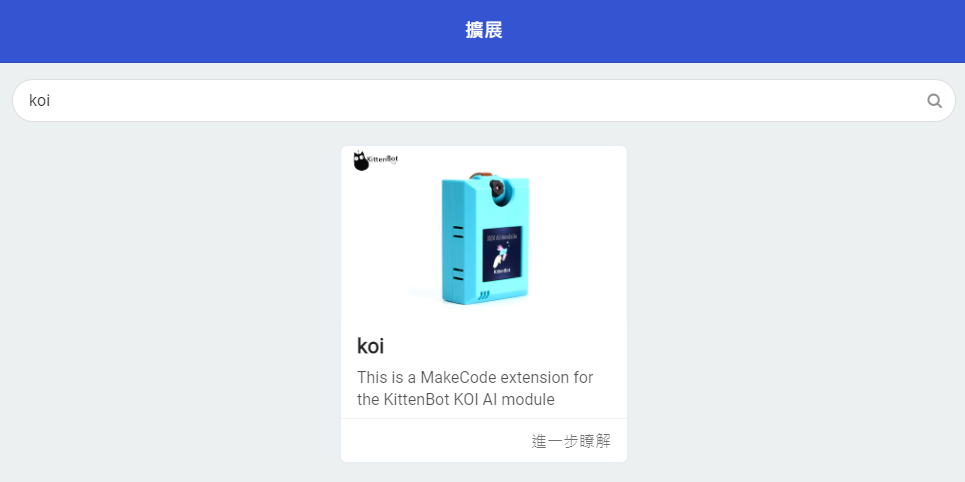
Search "KOI" in the search bar.
Or copy and paste the following link to the search bar.
****
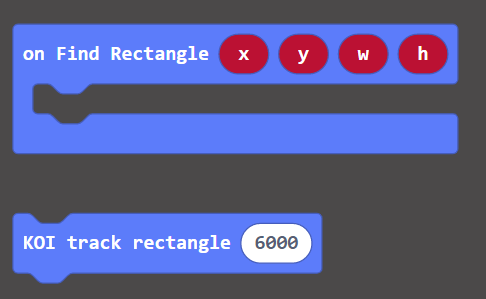
Blocks for rectangle tracing:
#### Sample Program
{% embed url="" %}
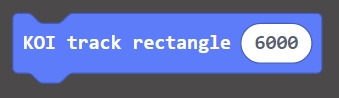
#### Threshold
Threshold affects the detection rate, testing and fine tuning the value is needed for achieving the best results.
A higher threshold value decreases interference and noise, but detection difficulty increases at the same time, please trial and fine tune for different scenarios.
### Program Flow
Download the program to Micro:bit, then press A on the Micro:bit.
The coordinates and dimenions of the rectangle are shown on the KOI.
### Advanced Program
The information becomes more easily readable if we add an OLED screen.
#### Connecting an OLED
Connect an OLED panel to the I2C port of your Robotbit/Armourbit.
#### Sample Program
{% embed url="" %}
### Sample Code
[1. Rectangle Tracing (Extension0.5.7)](https://makecode.microbit.org/_2i4V1rWPUWiu)
[2. Rectangle Tracing /w OLED (Extension0.5.7)](https://makecode.microbit.org/_JA5eX5EAHcJp)
### Extension Version and Updates
There may be updates to extensions periodically, please refer to the following link to update/downgrade your extension.
[Makecode Extension Update](https://kittenbothk-eng.readthedocs.io/en/latest/Makecode/makecode_extensionUpdate.html)
### FAQ
#### 1: There is no reaction after pressing the buttons on the Micro:bit.
· A: This is because KOI has a longer boot time than Micro:bit. When the power is turned on, Micro:bit has already ran the code for KOI initialization before KOI is ready.
· Solution: Reset your Micro:bit after KOI has been turned on. (The trick is to let KOI power on completely before initialization.)
#### 2: Does KOI work with 3V input?
· A: No, KOI only works with 5V.
#### 3: How do I improve detection rate?
· Adjust the threshold value.
· Keep a clean background.
· Make sure the rectangle has a sharp outline.