> For the complete documentation index, see [llms.txt](https://sharinghub-eng.kittenbot.hk/llms.txt). Markdown versions of documentation pages are available by appending `.md` to page URLs; this page is available as [Markdown](https://sharinghub-eng.kittenbot.hk/airelated/ai-camera-koi-2/makecode-programming/koi-2-in-makecode-quick-start-guide.md).
# KOI 2 in MakeCode Quick Start Guide
## **Wiring**
### **1. Use with Robotbit EDU**
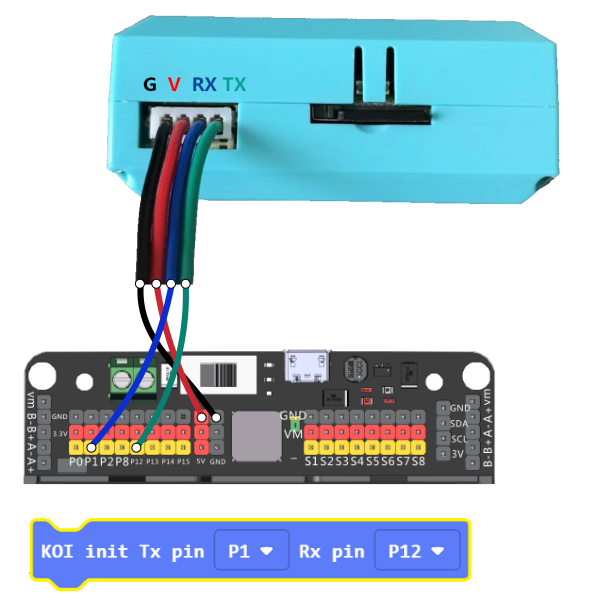
Use the cable included to connect KOI to Robotbit.
Connect KOI 2 to the serial port of the Robotbit EDU as shown in the illustration.
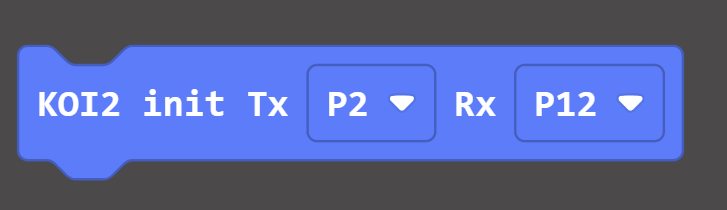
As Robotbit EDU uses P2 and P12 for its serial port, you will need to select the appropiate pins in the MakeCode program.
{% hint style="info" %}
If you wish to power the KOI using USB power, please remove the black(GND) and red(5V) wires.
{% endhint %}
{% hint style="info" %}
KOI 2 RX Port(Yellow) Connects to Robotbit TX Port(P2)
KOI 2 TX Port(Blue) Connects to Robotbit RX Port(P12)
{% endhint %}
### **2. Use with Robotbit 2.2**
Use the cable included to connect KOI to Robotbit.
Refers to the following illustration for correct wiring.
Black - GND
Red - 5V
Yellow - P2 (TX)
Blue - P12 (RX)
```
The (Blue)TX wire must be connected to an analog pin(Pin0-Pin2).
Remember to remove the buzzer jumper when Pin0 is used.
```
**Do not connect Red to Ground and Black to 5V!!!**
Ensure the connection is correct and switch the power on.
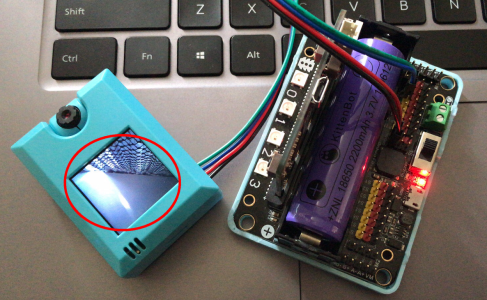
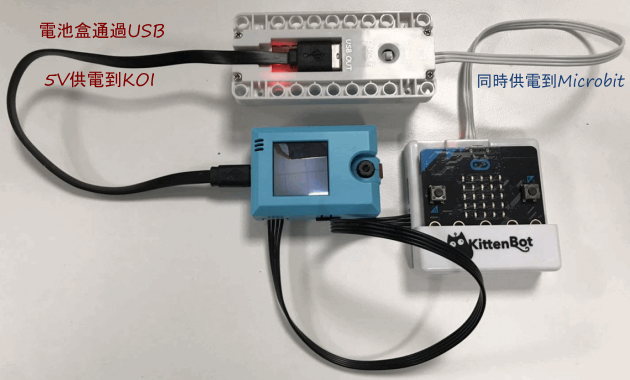
### **3. Use with Armourbit**
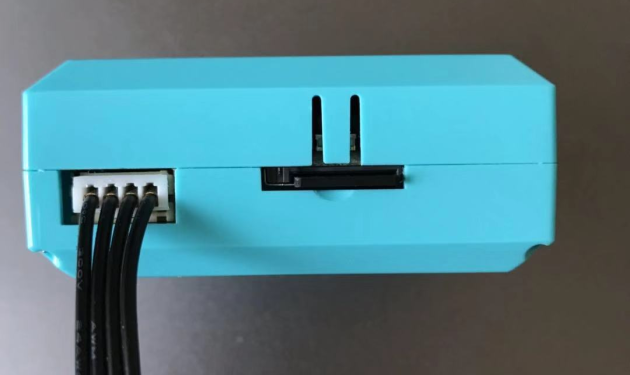
It is easier to connect to an Armourbit because they both use PH2.0 connectors.
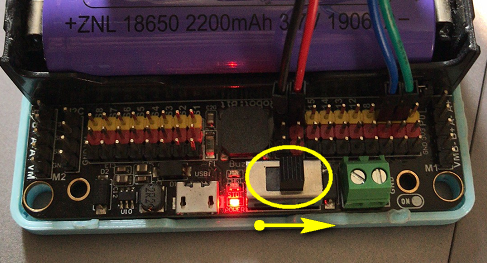
When using KOI with an Armourbit, KOI needs an extra 5V power source.
Using the USB port on the battery box, 5V power can be supplied to KOI. (See figure below)
Use the corresponding programming block and select the correct port.(Default Port 1)
## MakeCode Extension Quick Guide
### Import KOI 2 Extension for MakeCode
Extension Address:
## [**https://github.com/KittenBot/pxt-koi2**](https://github.com/KittenBot/pxt-koi2)
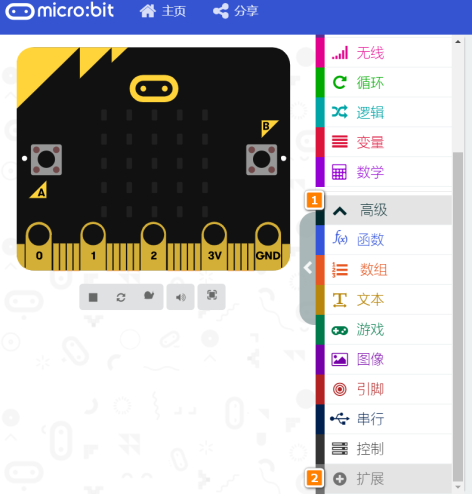
Open the extension tab in MakeCode.
Search for KOI2 in the search bar, select KOI 2.(KOI 2 has been approved by Microsoft)
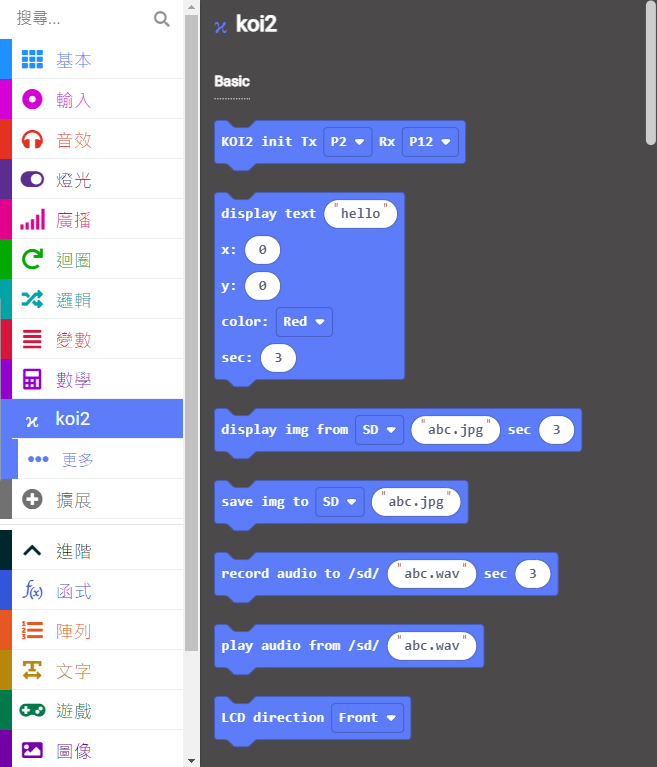
The extension will be imported into your project.
#### 1. Initialization
Initializes the communication between KOI 2 and Micro:bit, must be included at the top of the program.
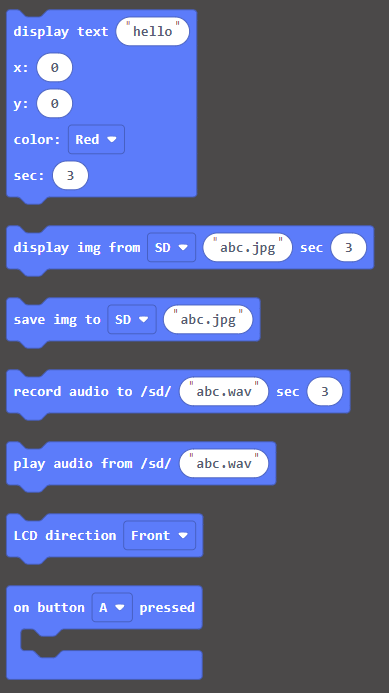
#### 2. Basic Operation
Basic Operations for KOI 2 such as taking pictures and showing text.
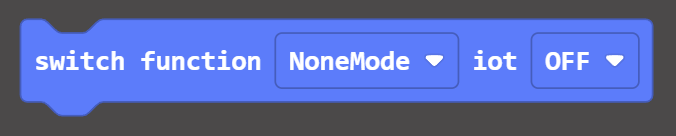
#### 3. Function Selection
Switching function is required to run the corresponding AI function.
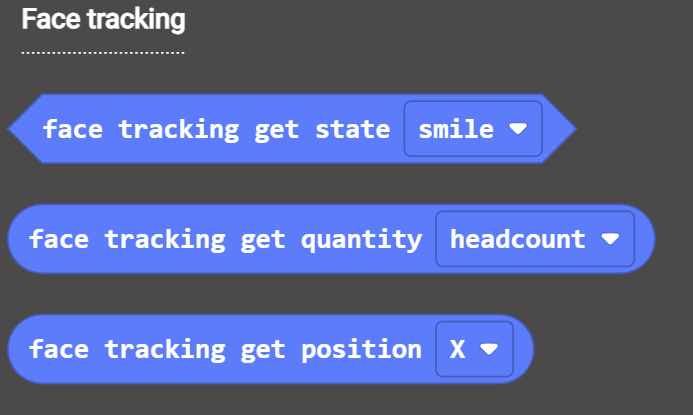
#### 4. Face Tracking
#### 5. Face Mask
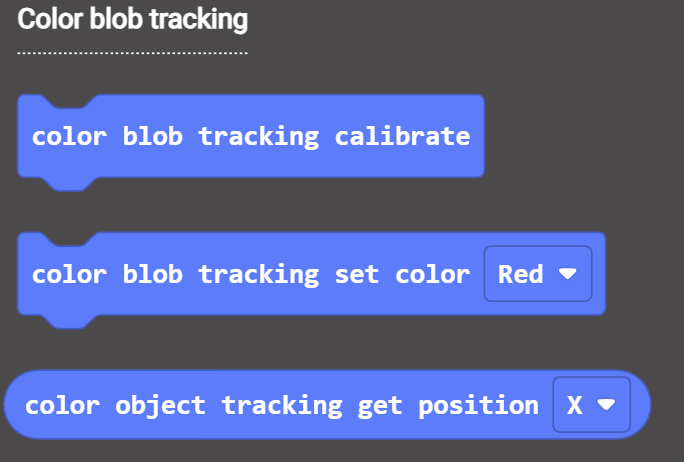
#### 6. Color Blob Tracking
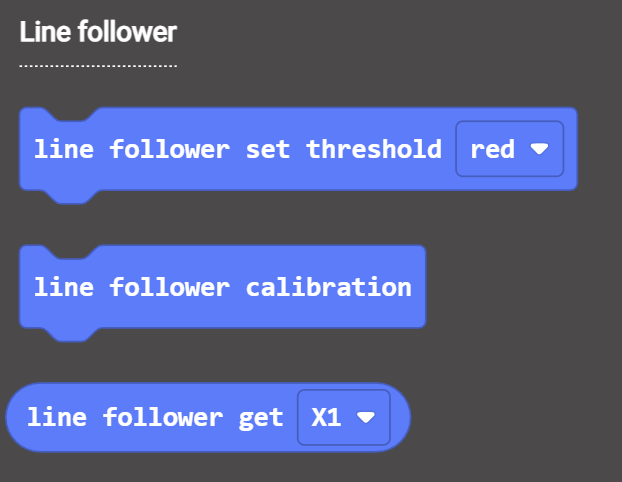
#### 7. Line Follower
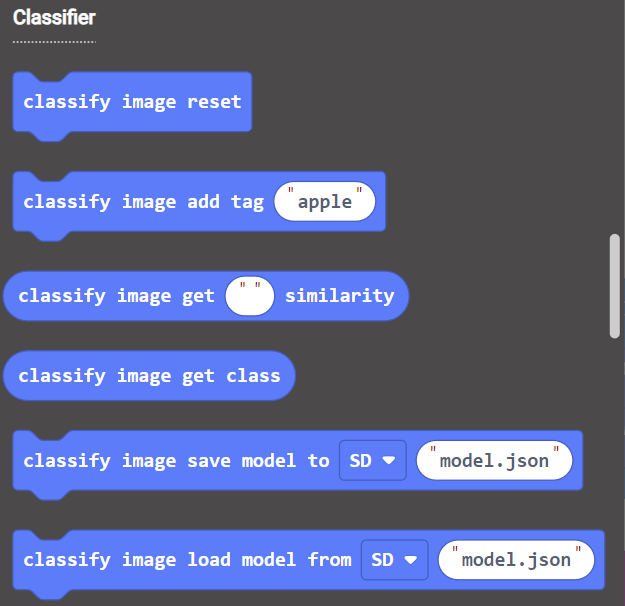
#### 8. Image Classifier
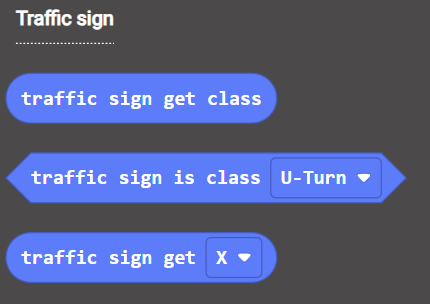
#### 9. Built-in Tracking: Traffic Sign
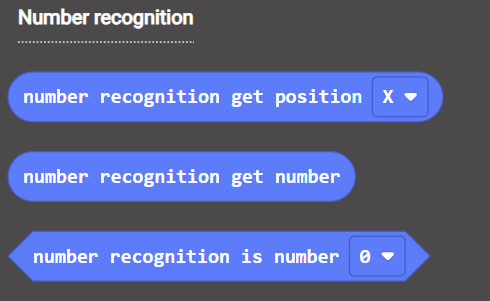
#### 10. Built-in Tracking: Numbers
#### 11. Built-in Tracking: Common Items
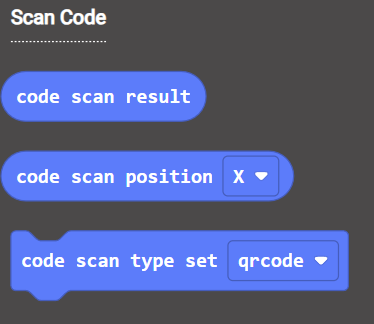
#### 12. Code Scanner
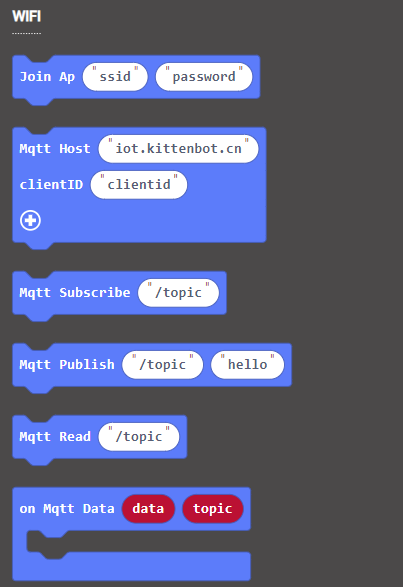
#### 13. WiFi IoT