> For the complete documentation index, see [llms.txt](https://sharinghub-eng.kittenbot.hk/llms.txt). Markdown versions of documentation pages are available by appending `.md` to page URLs; this page is available as [Markdown](https://sharinghub-eng.kittenbot.hk/functional_module/sugar/cam.md).
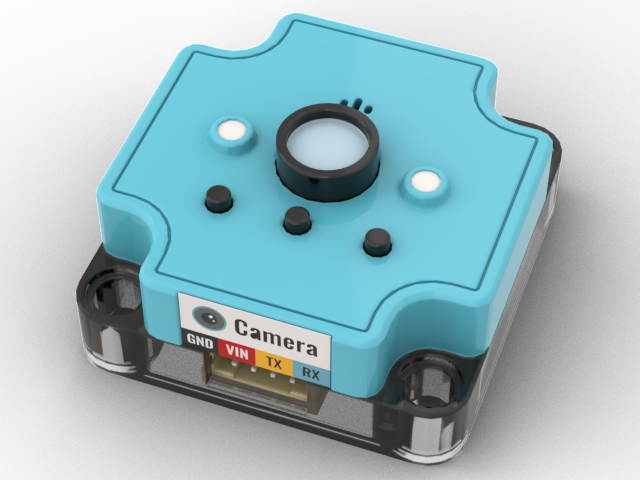
# Sugar Camera Module
This is a multifunctional camera module, it can be used as a local IP Cam to transmit video over WiFi, it is also capable of scanning QR codes, voice recording and playback, and MQTT functions. It is suitable for applications requiring wireless video monitoring such as remote control car, code scanner, or monitoring. It also supports Teachable Machine for AI education.
### Product Specifications
* Chipset: ESP32-S3
* Voltage: 5V
* Current: 500mA
* Resolution: 2 megapixel
* Port: USB Type-C, 4pin connector
* Dimensions: 40x40x16mm
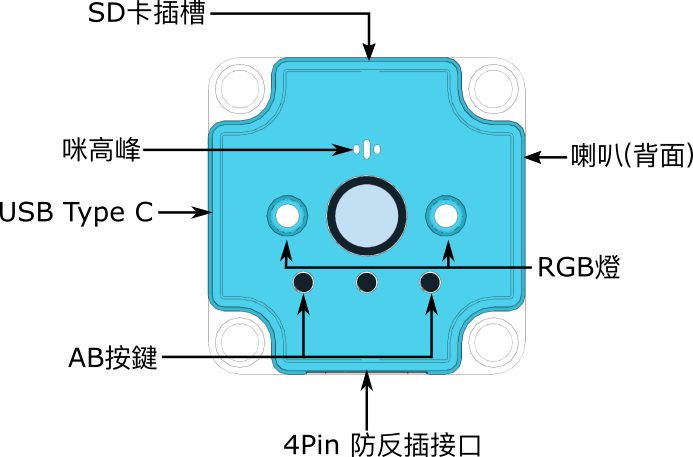
* Onboard functions: Programmable Buttons\*2, RGB LED\*2, MEMS Microphone, Mono Speaker, MicroSD Card Slot
* Support for: Micro:bit, Futureboard
### Product Details
### List of Functions
* WiFi Video Transmission
* Viewable on Kittenblock, Futureboard or Webpage
* AI Image Recognition
* Using Kittenblock built-in AI plug-in
* Teachable Machine
* QR Code Scanning
* Taking Photos
* Voice Clip Record and Playback
* Voice Recognition
* Programmable RGB LED
* Programmable Buttons
* Remote via Webpage
### Set Up Tutorial
#### WiFi Settings
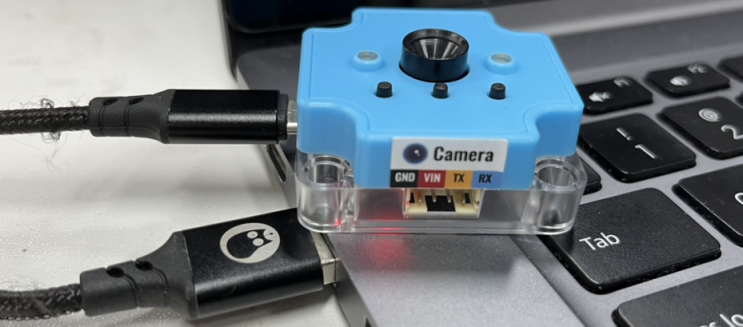
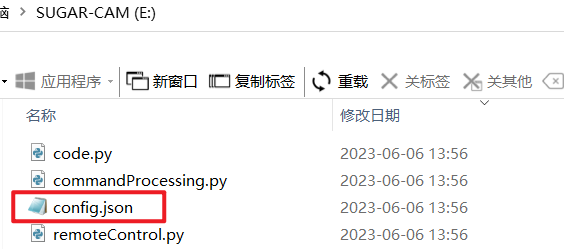
Connect the camera to the computer with a USB C cable.
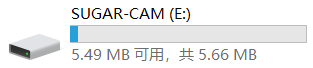
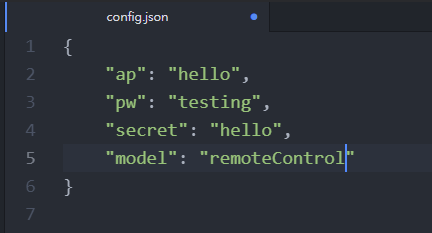
Open config.json in SUGAR-CAM.
```
用任何文字編輯器都可以打開。
```
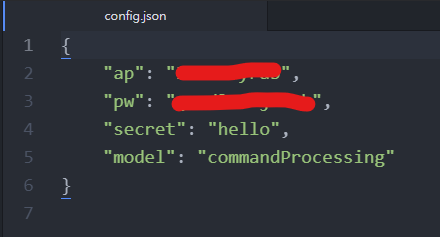
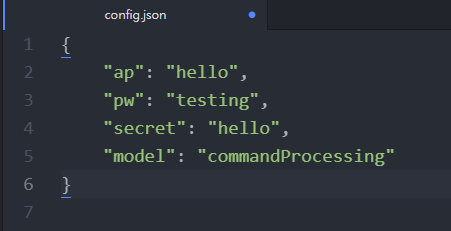
Input the WiFi credentials.
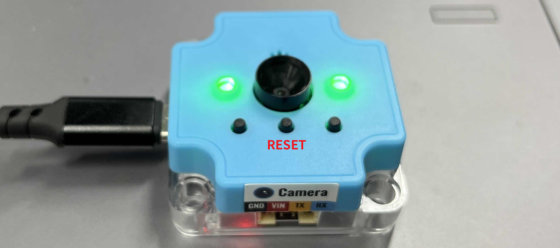
After saving, the module will reboot. The LEDs are lit green when it is connected to the WiFi.
### Switching Between Modes
To switch mode, change the value in the parameter "model" in the file "config.json".
* Command Mode: commandProcessing
* Remote Mode: remoteControl
### Firmware Update
There maybe updates to the firmware to improve functionalities of the module.
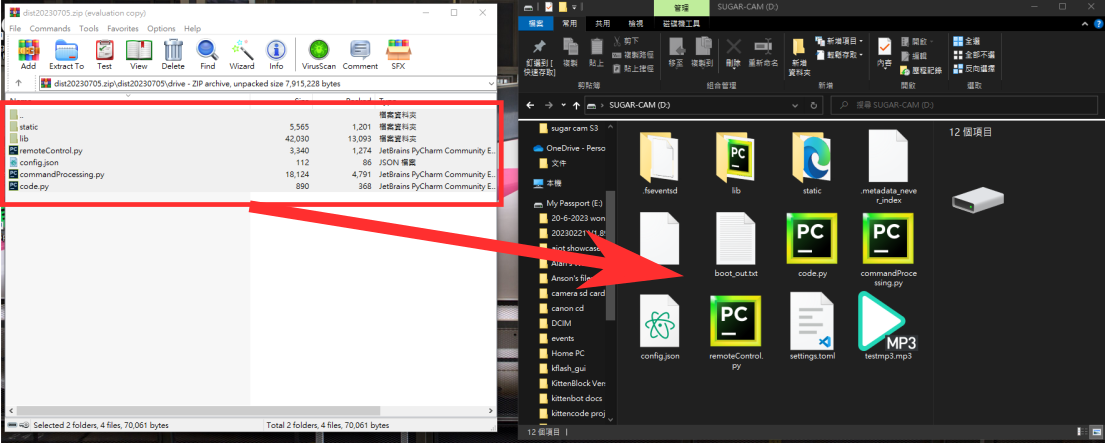
Download the latest firmware:
{% file src="/files/zwkS3Hri56OnyP17MtVs" %}
Connect the module to the computer.
Copy all the files onto the SUGAR-CAM device.